
Common Questions Related to Patient Connection:
*The Alberta Health Services Screening for Life initiative encourages women to participate in breast cancer screening through routine mammography. This provincial initiative empowers women to “self-refer” depending on their age. For more details on who can self-refer, call our team or visit screeningforlife.ca.
Protocolling is when our team reviews a requisition, patient history, symptoms, and clinical needs to ensure the patient receives the safest, most accurate test first. Essentially, protocolling is when our radiologists and technologists work together to tailor the exam based on a patient's unique medical history. Sometimes our team might recommend a different exam based on the information provided on the requisition.
We have up-to-date security standards and training to protect our systems and safeguard all personal information. In addition to the protection measures above, we also utilize:
• Independent threat/risk assessments (TRAs) of our systems and our security providers.
• Secure socket layer (SSL) with 256-bit encryption.
• Transport layer security (TLS).
• Multi-factor authentication (MFA) through a single-use security code sent to a personal device, for every login (assuming patients elect not to create an account/password).
• Strict password criteria for patients who elect to create an account.
Who Can Use Patient Connection?
Existing Patients – Yes
If you have been to MIC Medical Imaging before and you are an existing patient, you can use your name, date of birth, and phone number to log in to Patient Connection. This information must exactly match what you provided during your latest visit to MIC. If you experience any issues logging in, please contact our team at 780-450-1500 to verify your information on file.
New Patients – Must Call Our Team First
If you have never been to MIC Medical Imaging before and are a new patient, you must call our team at 780-450-1500 to set up an account. After we confirm your information on file, you are free to use the online tool.
How to Access Patient Connection:
1). From any page on our website, click on the MIC Digital Assistant button (bottom right-hand corner) or click Book an Appointment at the top of the window to begin.
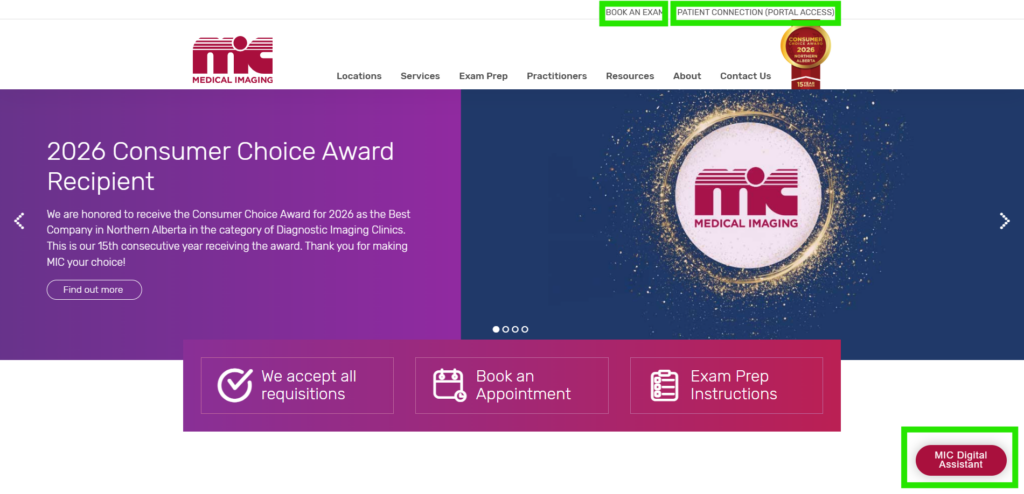
2). If you use the MIC Digital Assistant button, a pop-up screen will provide you with information for online bookings. Scroll to review all of the available information.
If you click Patient Connection (Portal Access), you will be directed straight to the login screen. If you use the Book an Exam link at the top of the window, you must scroll down on the new page and click the “Access Patient Connection” button.
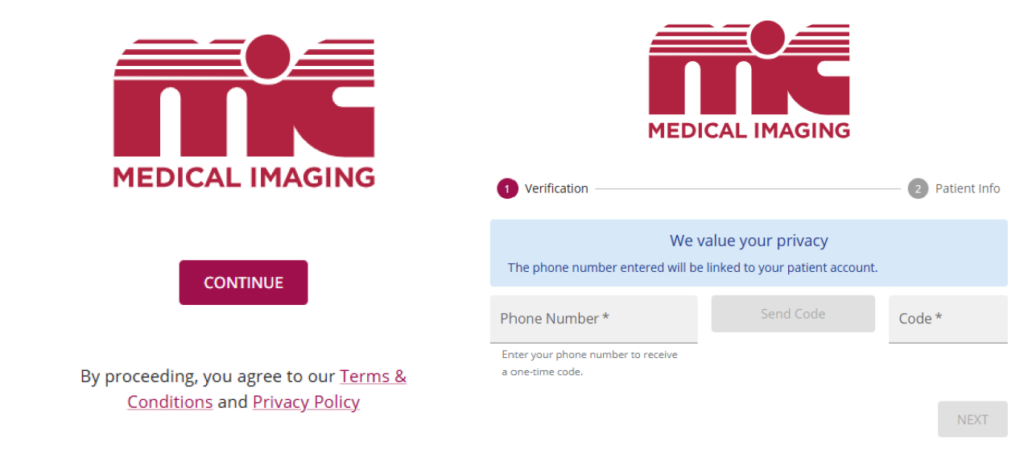
3) You can log into MIC Patient Connection by creating a password the first time you log in; anytime after that, you can log in by using your password or a passwordless login. Please note that cell phone numbers can only be used for 1 account.
- If you are an existing patient, you will need to use the name, date of birth, and phone number provided to MIC to log in. If you are having any issues logging in, please contact MIC at 780-450-1500 to confirm your information on file.
- For NEW patients who have never been to MIC Medical Imaging before, please call our Patient Care Coordinators at 780-450-1500 to set up an account. After we confirm your information, you can use the online booking tool.
- Click “CONTINUE.”
- Enter your cell phone number, then enter the security code you were sent.
- Enter your legal first name, last name, and date of birth. Then click “REGISTER.”
- Create your password. Then click “SIGN UP.”
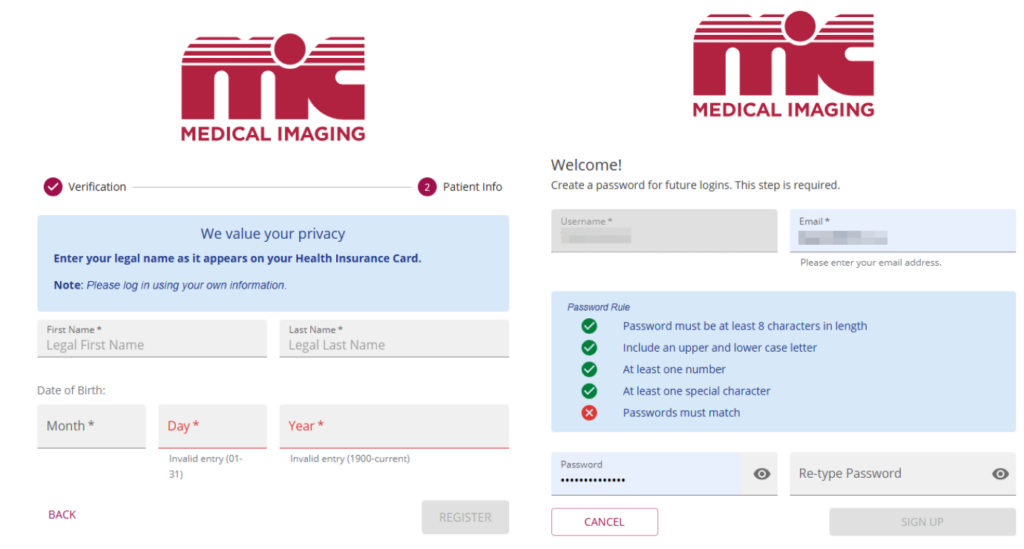
Congratulations! You are now logged into Patient Connection!
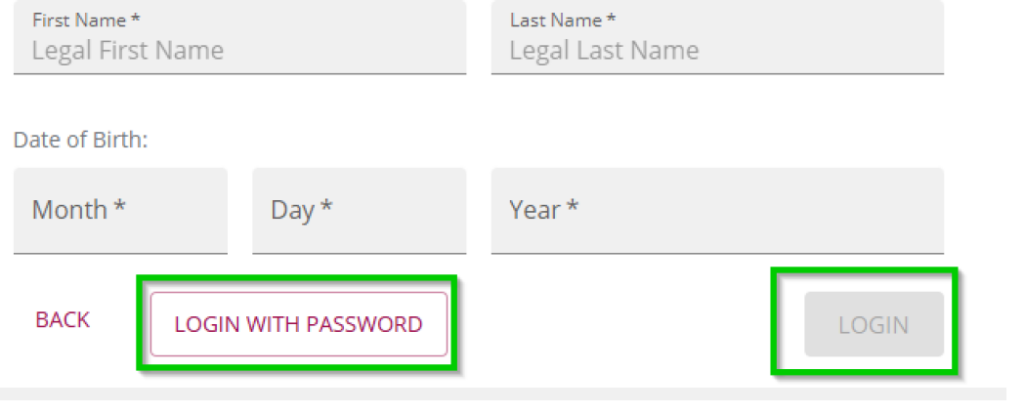
- Next time you log in, you will need to enter the same phone number you used to create the account. Then you can either use your name and date of birth and click LOGIN, or click the LOGIN WITH PASSWORD option.
How to Schedule an Appointment Using Patient Connection:
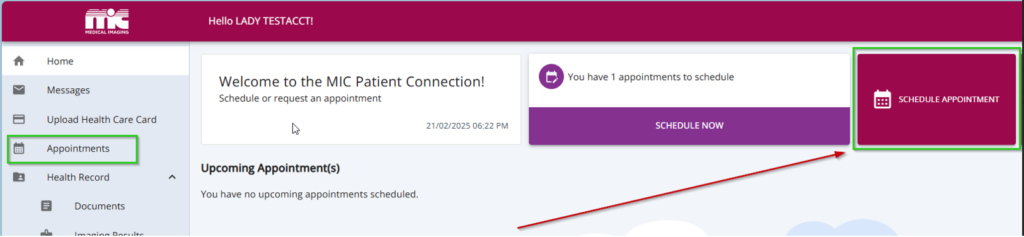
1). Once logged in, click the SCHEDULE APPOINTMENT button or the Appointments tab on the left Menu.
2). Click Schedule New and scroll to find the type of exam that you would like to schedule, e.g. Mammography, Ultrasound. Check the exam that matches the one(s) selected on your requisition. At the bottom of the screen, click Next.
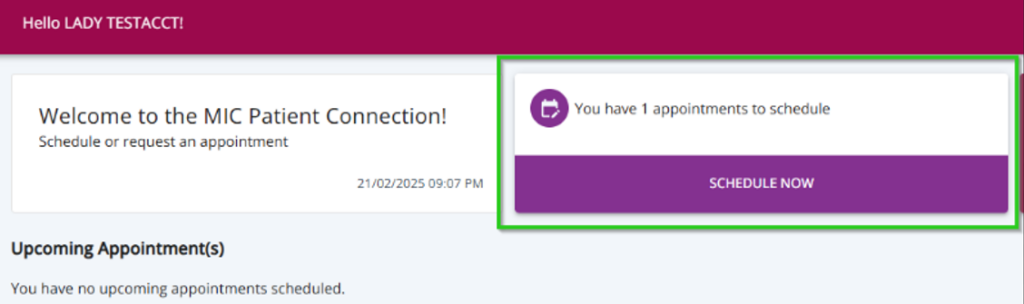
- Note: If you do not see your exam listed, scroll to the bottom of the options listed and select Request appointment. You will need to upload your requisition, and the request will be submitted to MIC to review. Once reviewed, you will receive a text message notification that the appointment is now ready to be scheduled. Please log back into Patient Connection and click the SCHEDULE NOW option on the home page, and follow the steps.
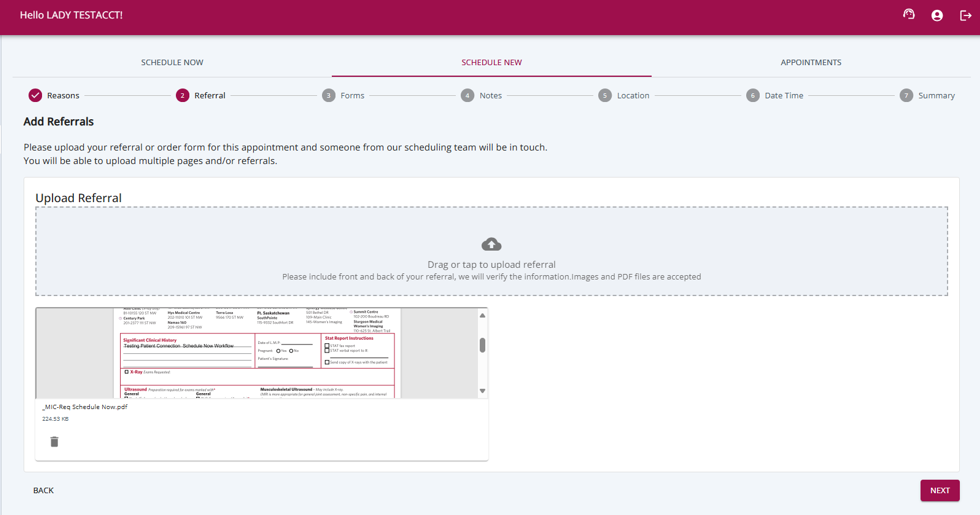
3). Upload the requisition from your referring doctor. Click Next.
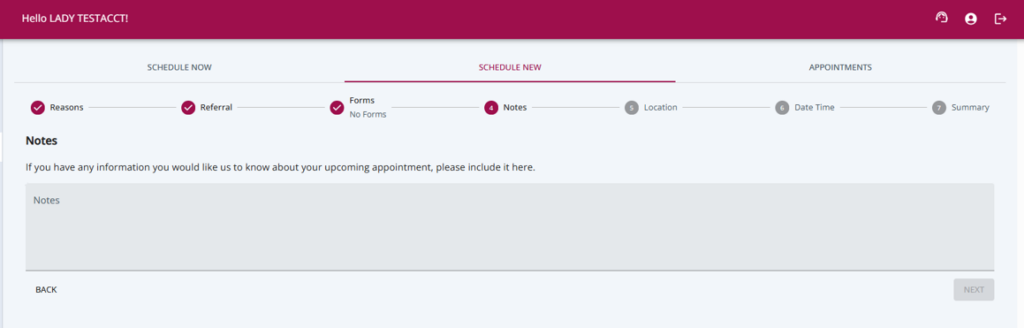
4). Add any notes you wish to include about your upcoming appointment. Click Next.
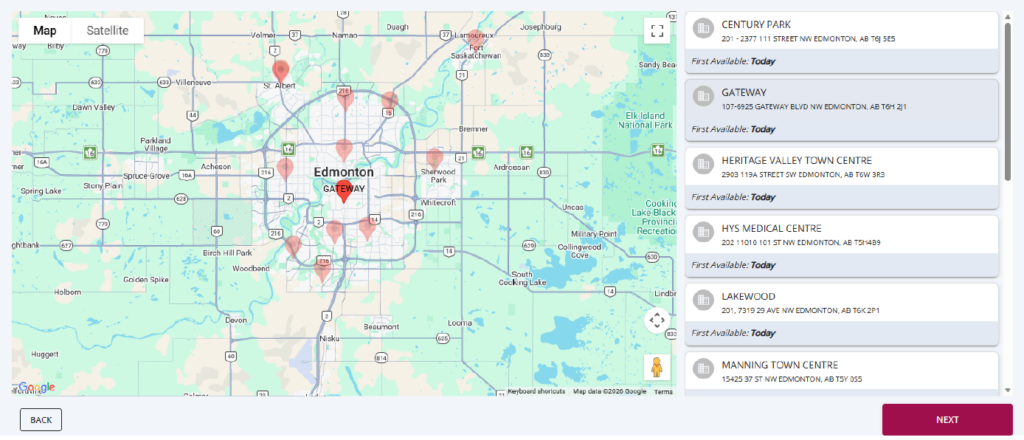
5). Select the location where you would like to schedule your appointment. Currently, you can only select one location at a time. Scroll down and click Next.
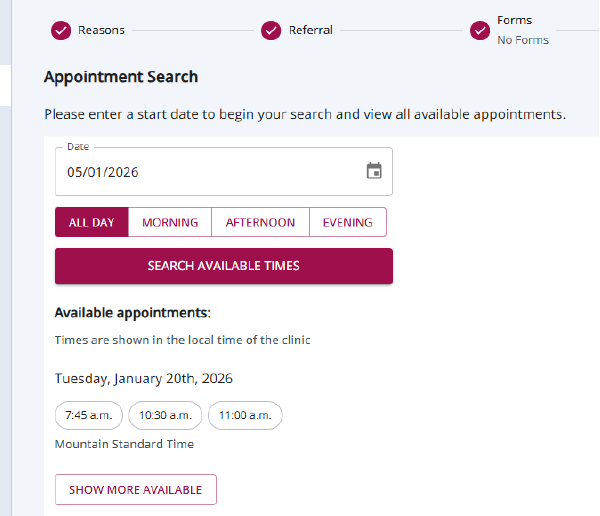
6). Search for available appointment dates and times at the selected facility. If your search returns no results, move your date range out by 30 days to extend the search. Click Next once you have selected a new date and time.
7). Click the CONFIRM button to finish your booking.

8). You can now add the appointment to your calendar. Click Okay.

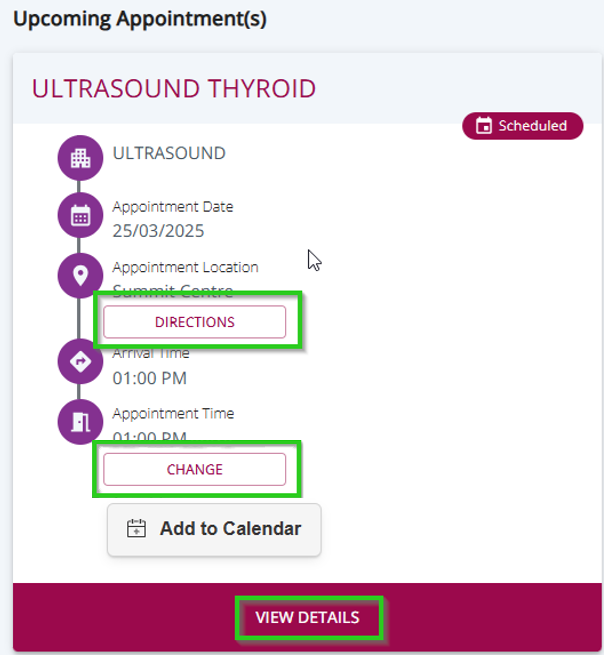
9). You can now view that appointment on the home screen. Review preparation instructions or forms (if applicable) by clicking View Details. You can reschedule/cancel the appointment by clicking the CHANGE button and view DIRECTIONS to the clinic location.
10). You will also receive a confirmation email or text message for your appointment, with exam and location details and applicable preparation instructions.